概要
Android Jetpackに含まれるNavigation componentを使うと、画面間の遷移を実装する上で複雑になりがちな点を軽減できる。今回は、このコンポーネントを使って簡単な画面遷移を実装してみる。
サンプルアプリ
環境
Android Studio 3.5.1
準備
build.gradle(app)に以下の依存を追加する。
dependencies {
    ...
    implementation 'androidx.navigation:navigation-fragment-ktx:2.1.0'
    implementation 'androidx.navigation:navigation-ui-ktx:2.1.0'
    ....
}
ライブラリーのバージョンはブログ執筆時点での最新バージョンのため、必要に応じて適宜更新してほしい。
ナビゲーションの追加
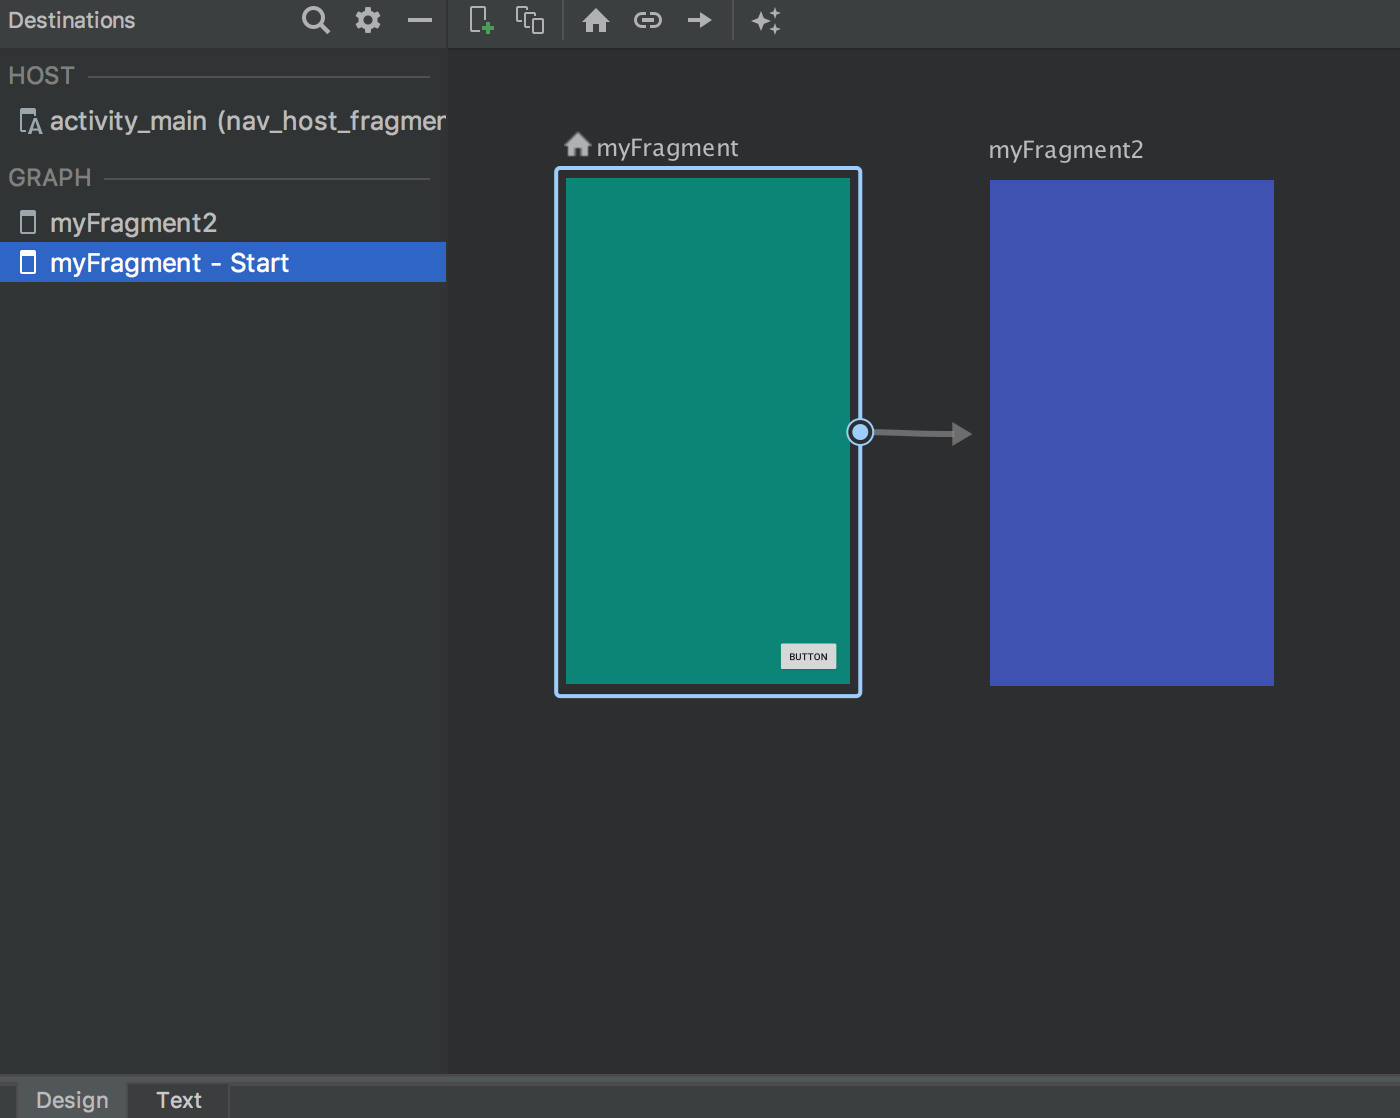
プロジェクトのresフォルダの下に新たにnavigationフォルダを作成し、ナビゲーションリソースxmlを追加する。ここでは、公式サンプルに倣ってnav_graph.xmlという名前にした。このファイルを選択すると下記のような画面が立ち上がる。ここでは、Fragmentを2つ作り、1つ目のFragmentから2つ目のFragmentへ遷移を示す矢印を引いている。
xmlは以下のようになっている。
nav_graph.xml
<?xml version="1.0" encoding="utf-8"?>
<navigation xmlns:android="http://schemas.android.com/apk/res/android"
    xmlns:app="http://schemas.android.com/apk/res-auto"
    xmlns:tools="http://schemas.android.com/tools"
    android:id="@+id/nav_graph.xml"
    app:startDestination="@id/myFragment">
    <fragment
        android:id="@+id/myFragment"
        android:name="com.zawapro.navigationcomponentlesson.MyFragment"
        android:label="fragment_my"
        tools:layout="@layout/fragment_my" >
        <action
            android:id="@+id/action_myFragment_to_myFragment22"
            app:destination="@id/myFragment2" />
    </fragment>
    <fragment
        android:id="@+id/myFragment2"
        android:name="com.zawapro.navigationcomponentlesson.MyFragment2"
        android:label="fragment_my_fragment2"
        tools:layout="@layout/fragment_my_fragment2" />
</navigation>
上記の過程で、ナビゲーションエディタから2つのFragmentが作られる。これらのxmlを下記のように編集する。
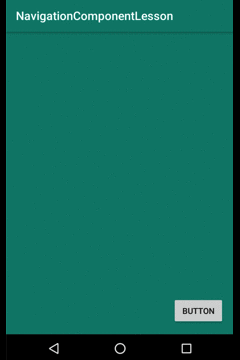
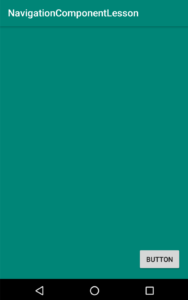
1つ目は画面右下にボタンがあるFragment。
fragment_my.xml
<?xml version="1.0" encoding="utf-8"?>
<androidx.constraintlayout.widget.ConstraintLayout xmlns:android="http://schemas.android.com/apk/res/android"
    xmlns:app="http://schemas.android.com/apk/res-auto"
    xmlns:tools="http://schemas.android.com/tools"
    android:layout_width="match_parent"
    android:layout_height="match_parent"
    android:background="@color/colorPrimary"
    tools:context=".MyFragment">

    <Button
        android:id="@+id/button"
        android:layout_width="wrap_content"
        android:layout_height="wrap_content"
        android:layout_marginEnd="16dp"
        android:layout_marginRight="16dp"
        android:layout_marginBottom="16dp"
        android:text="Button"
        app:layout_constraintBottom_toBottomOf="parent"
        app:layout_constraintEnd_toEndOf="parent" />
</androidx.constraintlayout.widget.ConstraintLayout>
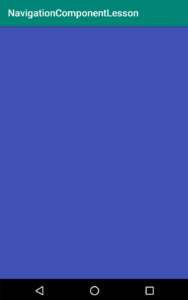
もう一つは遷移先の画面で、特に何もない画面である。
fragment_my_frgment2.xml
<?xml version="1.0" encoding="utf-8"?>
<androidx.constraintlayout.widget.ConstraintLayout xmlns:android="http://schemas.android.com/apk/res/android"
    xmlns:app="http://schemas.android.com/apk/res-auto"
    xmlns:tools="http://schemas.android.com/tools"
    android:layout_width="match_parent"
    android:layout_height="match_parent"
    android:background="@color/design_default_color_primary"
    tools:context=".MyFragment2"/>
次に、Activityが読み込むレイアウトファイルactivity_main.xmlを下記のように変更する。
activity_main.xml
<?xml version="1.0" encoding="utf-8"?>
<fragment xmlns:android="http://schemas.android.com/apk/res/android"
    xmlns:app="http://schemas.android.com/apk/res-auto"
    xmlns:tools="http://schemas.android.com/tools"
    android:id="@+id/nav_host_fragment"
    android:name="androidx.navigation.fragment.NavHostFragment"
    android:layout_width="match_parent"
    android:layout_height="match_parent"
    tools:context=".MainActivity"
    app:defaultNavHost="true"
    app:navGraph="@navigation/nav_graph">
</fragment>
fragmentタグを使い、全面にFragmentを配置している。ポイントは6行目でNavHostFragmentを指定しているところである。このようにしておくと、NavHostFragmentは11行目app:navGraphで指定したidのナビゲーションリソースを読み込み、それに従った画面とナビゲーションを構築してくれる。10行目ではapp:defaultNavHost="true"としている。このようにすることで、デフォルトの画面から遷移した後、バックキーを押すとその画面に戻ってくることができる。
ここまで出来たら画面の遷移のコードを書こう。先のnav_host.xmlにて初期画面をMyFragmentに設定していた。そこで、MyFragmentのコードを以下のように編集する。
MyFragment.kt
class MyFragment : Fragment() {
  override fun onCreateView(
    inflater: LayoutInflater, container: ViewGroup?,
    savedInstanceState: Bundle?
  ): View? {
    // Inflate the layout for this fragment
    return inflater.inflate(R.layout.fragment_my, container, false).also { layout ->
      layout.findViewById<Button>(R.id.button).setOnClickListener {
        // NavControllerを呼び出し、アクションを指定して遷移する
        findNavController().navigate(R.id.action_myFragment_to_myFragment22)
      }
    }
  }
}
inflater.inflate(R.layout.fragment_my, container, false)にalso()で処理を追加している。その中では、findNavController()でNavControllerを取得し、そのnavigate()メソッドを使いアクション先を指定する。こうすると、指定した先の画面へと遷移が行われる。
以上がNavigation componentの使い方のサンプルである。
ここまでのソースをgithubにアップしたので、参考にしてほしい。